I would love to be able to grow my own salad. Thanks to hydroponics that could be possible even in our small, inner city flat. That is a growing trend I suppose. IKEA started bringing out Hydroponics products just recently (I didn't know that before I started).
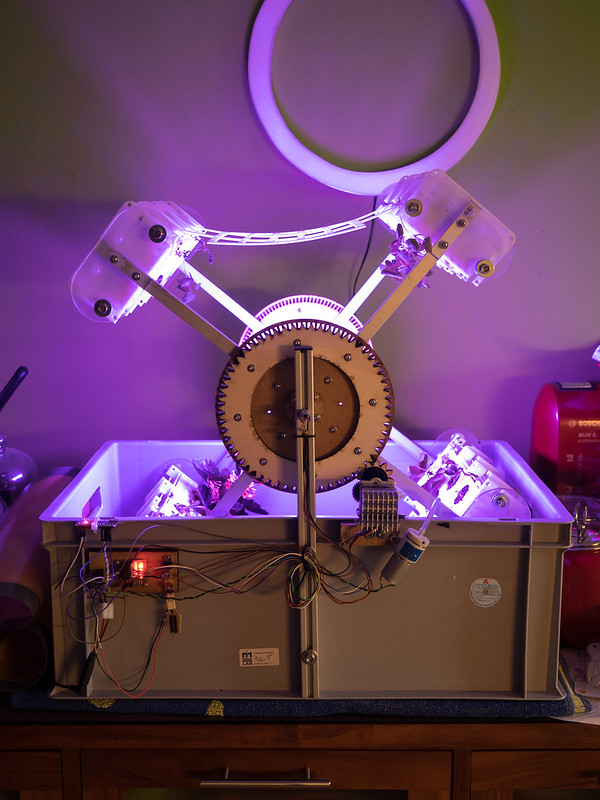
I was even more fascinated by wheel based hydroponics. In normal hydroponics you move the water level up and down to give the roots some air. In wheel based hydroponics you move the plants. Benefits: Better light/power use, less complicated water works.
I had a deadline of about 4 weeks to the MunichMakerLabs exhibition at the Steet Live Festival in Munich. And despite lots of work, I did it. =)
Frame:
 The frame is based on a sturdy plastic bin bought in a hardware store. The wheel arms are maker beams that were sitting around in the Lab. The arms are screwed into the bin, the screwheads on the inside are sitting on a thick rubber plate to keep the water in. There is a central rod between the arms, made out of 8mm stainless steel. The light tube is attached to this central rod.
Wheel:
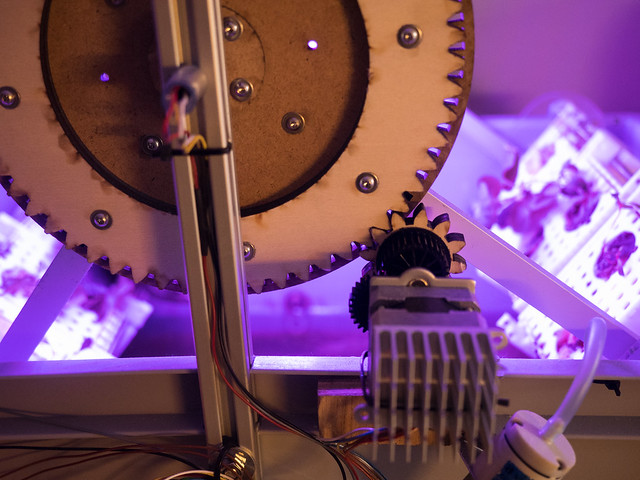
The wheel is sitting on this central rod on ball bearings intended for a long board. Everything thats coming in contact with water is made from aluminium, stainless steel or acrylic. The hub consist of four lasercut center plates (+ one gear ring) with four arms each to carry the pods. Another four arms can be attached between the existing ones to increase the density. At the end of the arms are thick acrylic plates with two robs connection to the other side. These rods carry the Pods.
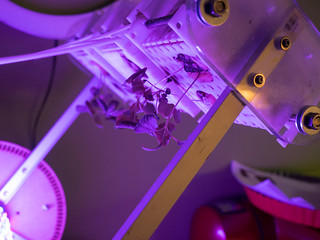
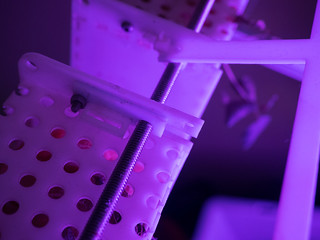 The Pods are lasercut acrylic cages, stuck together (without glue). The are holding a ball of rockwool into which the plants can grow into. The pods are made to be taken out from outside the wheel. Two small sliders lock it down.
 Electronics:
The motor is a multi-geared stepper motor from an old printer. Its driver by a extremely cheap stepper driver and an arduino. Everything is connected to a common 12V rail (the thing was designed to be driven from a car battery...). The wheel is very slowly turning and makes one rotation each hour.
Light:
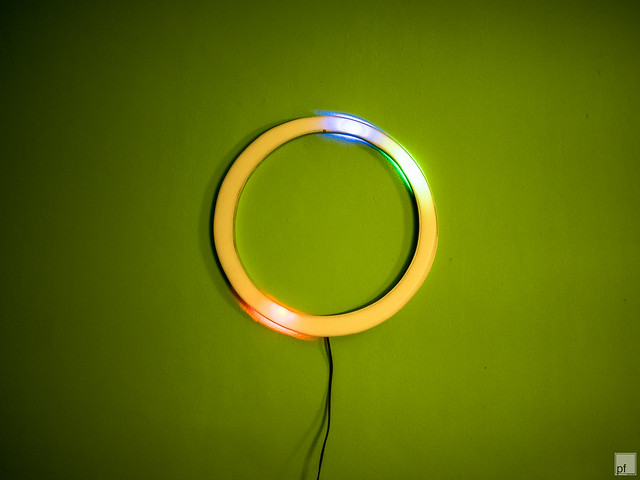
The central light tube is attached to the central rod and is not turning with the wheel. Its made out of a plastic tube wrapped with three parallel led strips (two red, one blue) and then covered with clear foil to prevent water dripping on it.
The project is running for ~2 month now. Its working well and stuff is growing. But there are some problems:
- Some of the plants I want to grow (leaf salads, basil and other herbs) have very weak stems and some of them can't cope with the movement of the wheel. Further trials are needed. Maybe going even slower helps. And/or something to stabilise the seedlings.
- The water needs to be changed every two weeks or it will bread algae. This is a lot of work as the volume is around 20 litres. And it means throwing away lots of fertilizer. The water basin needs to be covered.
- The light source is not bright enough. More LEDs!
Sources:
Github repo will be created soon...