Donnerstag, 29. August 2013

Flying Carp


Nina and Peter proudly present: Our (first?) electric longboard!

Nina (my sister) made the deck (complete with carp), I was responsible for the electronics.
I wanted to build such a board for years, and as Nina suddenly said the same we started the project immediately. As she knows her way around wood and knows how to draw her part was clear.

First big hurdle for me was the motor mount. Most projects I've found solved this with lots of welding or buying a cheap board from china as a starting point. I didn't really like what I've found until I stumbled upon what Richard from Alien Drive Systems just started selling: A really nice CNC manufactured kit which uses stock trucks and wheels without modifications. And even in Europe, oh joy of joys!
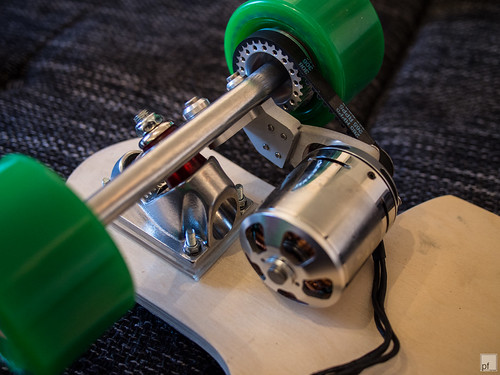
Next: Motor and controller. Playing around with multicopters for years I was quite familiar with the awesomeness that are brushless motors. Very powerful, very light. Deviating from Richards recommendations, I bought motor, ESC (controller), remote and battery from the great chinese RC online shop Hobbyking. After calculating a bit I bought the Turnigy Aerodrive SK3 - 6364-190kv motor, which should be good for a theoretical top speed of 33 km/h with six LiPo cells.
Good enough (After driving this thing flat out I still think that).

As ESC I chose a Turnigy TrackStar 150A which is powerful enough to drive the half kilo of motor and has electric brakes. Battery is a self assembled pack of 6x 5800Ah Lithium-Polymer cells. The motor could cope with ten, but the ESC does not. I planed to build the remote myself but bought a cheap 2.4GHz remote Turnigy HK-210 as temporary solution.

The battery pack is a flat italien tupperware (for prosciutto I think) on foam rubber which gives just enough space for the battery, access panel, esc and receiver.

First real test happend at a BBQ and the board was really great. Seemingly endless battery power, enough speed to frighten you easily, enough power to climb hills, very controllable, just awesome! Up until the remote just died while driving and a friend of mine needed to jump off at full speed. He lost enough skin to put his hands out of commission for a week but was ok otherwise. A drop of blood is still visible on the grip tape.

Hobbyking refunded my money for the remote and I started to build my own remote based on two Arduinos. I started with RFM12 wireless modules but switched to RF24 after a while. The first thing I've implemented was a failsave.
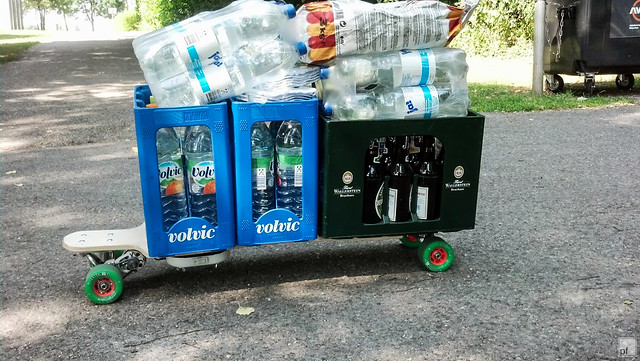
Urban transport
I'm still at it, the base functionality (throttle...) already works. I want to put a display on the remote to see battery status and be change the top speed and throttle response. You can watch my efforts on github. More documentation over there as well but be warned, the code is still a mess.

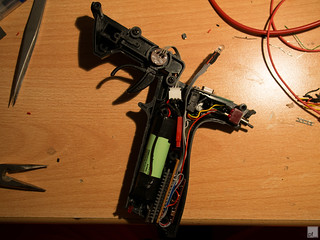
The shell is a a car remote, stipped down to the handle. I really want to use my 3D printer to print one myself, another sub project from this one.

I like the not-pistol shaped design from the boosted-board controller, but it's a bit small to include all the functionality I want.
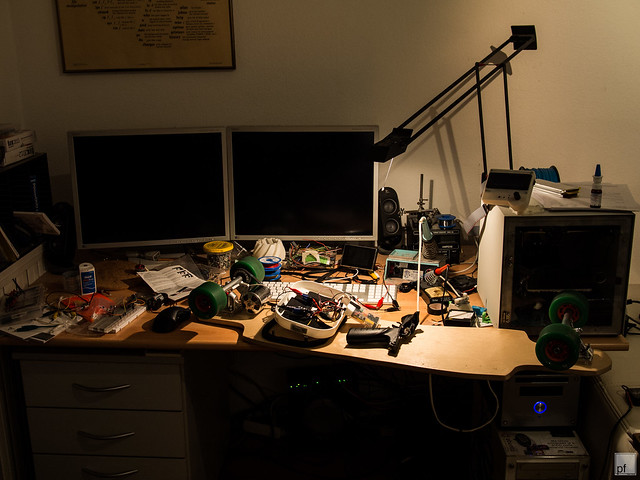
Messy and productive
Anyway, the board is really fun and a great way to get about in the city. It weighs under 6.5 kg and can easily be carried on the subway or bus. Battery runtime is about 2h at city speeds. I only wish the brakes would be better. Mechanical brakes would be awesome (I know thats the way to do it, but that needs more body control that I have) but at least they they stop me ending like that poor guy.

Parts list

Remote Arduino based self made
ESCTurnigy TrackStar 150A
MotorTurnigy Aerodrive SK3 - 6364-190kv
Battery6x 5800Ah LiPo 25C
Motor mountAlien Drive Single
TrucksHoley trucks
WheelsABEC 11 - 83mm
BearingsBILTIN Bearings - ABEC7
Deck birch wood selfmade 40'
Grip tape clear Black Diamond
Battery box Rosti Mepal Modula tupperware

All in all around 600€.

Dienstag, 27. August 2013

Real personality


A dog.
Just a dog.
A very patient dog.

  Made with Olympus OM-4Ti w. Kodak T-Max400 / OM 50mm, f1.8. 


Mittwoch, 21. August 2013

Will 'art' for cash


I don't like works of art that were made for the sole purpose of making money. I think true art always comes from the top end of Maslow's hierarchy of needs and never the bottom. Self preservation (aka making money) can be a later side effect but should never be the initial driver to create.

This point of view can be easily disputed as it disregards a lot of pieces that are getting displayed in fancy national or private art galleries as merely high quality handicraft. But I am an idealist in such things and doesn't let reality get in the way of my opinions. Needless to say I had quite some angry discussions with friends ("So you say Michelangelos 'The Last Judgment' in the Sistine Chapel is not art? omgwtf?!!"). 

Thinking about this again as I was looking at a few Banksy stencils I hadn't seen before, I had the idea to this: A piece of Art, created for the sole purpose of creating money. Literally!

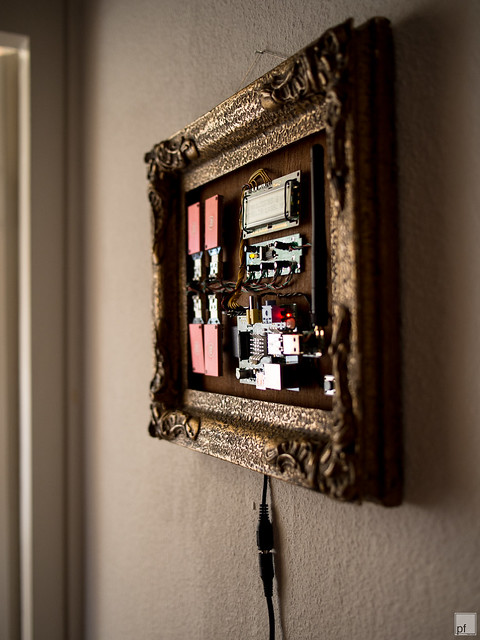
Mounted on a rosewood panel, inside the baroque gold-plated frame (thanks Bele!) is a small computer and four specialised computing units producing Bitcoins, the most known and used cryptocurrency. The small display shows the current rate of calculation and the exchange rate of Bitcoins to Euros. I took special care to mount the hardware and wires in a pleasing, clean way and removed all casings to show of the technology. 

The hardware is able to calculate ~1.3GH/s. At the current exchange rate that amounts to around one Euro a day (simplified, bitcoins are complex business). Not quite in the same range as Jeff Koons but at least I don't need to fuss around to find a buyer. 

My feelings for the piece are therefore split (as intended). I have all the pure joy of creativity, of bringing an idea to life and expressing an emotion. The other feeling is greed, being akin to the corrupt artist, thinking about the wealth it will bring me. 

As a project it was awesome: Idea to finished product in less than a week. That's how I like it. =)

Technobabble

I used ASICminers for the rig and they are really something. The system has the same hashing performance as a PC with four high end GPUs, but at under 300€ project cost and under 10W of power it beats the traditional rig hands down on cost. And noise (none). And size.

The ASICminers radiate quite a bit of heat, thats why the red heatsinks are still in place.

The Raspberry only coordinates the data flow to the miners and (idles most of the time) uses most of its power to run bitcoind to help the bitcoin network and verify transactions for everyone.
Every 60 second it updates the display with current hash values and highest/lowers trade values from the biggest Bitcoin exchange Mt.Gox.

Hardware: 
- Raspberry Pi Model B
- 4x ASICminer Block Eruptor 
- CSL wireless usb stick
- class 10 sd-card
- powered usb hub (LogiLink)
- 16x2 hd44780 display 
- button
- 5V, 3A power supply 

Software: 
- Raspbian Linux
- cgminer 3.1.1
- bitcoind (to help the network)
- python script to handle the display and shutdown button, mostly taken and adapted from here


<update - 09/08/2013>
I modified the python script to switch the lower line between the Bitcoin exchange rates and the current balance of the target Bitcoin wallet every 60 seconds. I will publish the modified script on Github, I just need to clean it up a bit...


<update - 09/11/2013>
The cheap power supply melted in the wall socket. It was specified for 3A but could not handle that full time. Well, I've got my refund from Amazon and bought a Phihong PSA15A-050P which is build like a tank. The display has now a lot more contrast, too...


Useful links


Sonntag, 18. August 2013

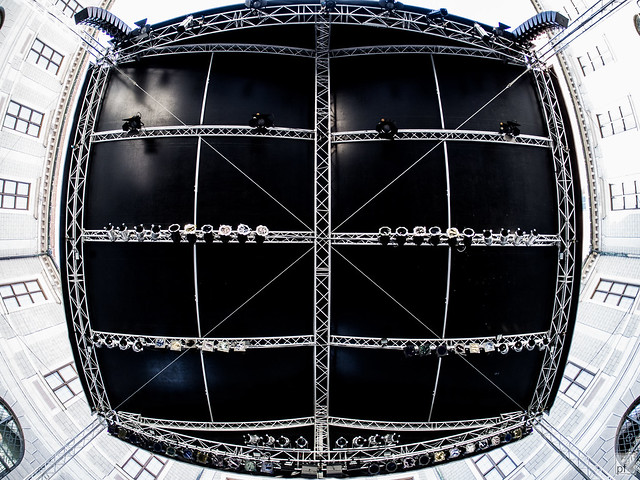
Above, the stage


Finally, an update!

We met to take some pictures again, and I really like this one. I took it lying on my back on a stage build inside one of the courtyards in the Residenz in Munich.

Bigger resolution here.

And more to come, I have two cool projects ready to show. =)

Dienstag, 2. Juli 2013

Sodium-vapor yellow


Very yellow lighting by sodium-vapor street lamps. Bigger size here.
A hip shot that came out very well. =)

Samstag, 29. Juni 2013

Largo do Carmo


A pic I made a few years ago in Lisbon, Portugal. It's the back window of a church that was part of the Carmo Convent that lies in ruins in the Chiado district.

More info here.

Sonntag, 9. Juni 2013

The look


I was away the last two weeks (made tons of pictures, you'll see...). Amongst other things, I was on a wedding of friends where I made this shot late in the evening.

Thanks for allowing me to publish it you two!  =)

Samstag, 25. Mai 2013

Carbon fibre bottle opener


I found this kickstarter project, showed it to my college and bragged about being able to produce something like this for quarter the price.
He didn't believe me. I went to eBay to get some material.

Three days later I opened his beer with this. Handmade out of 1,5mm carbon fibre.
The plate I got was big enough to produce two more, I ended with around 4€ per piece.

Opening bottles with it feels strange, but works fine. The material is so strong I can't break it with my hands.

Donnerstag, 23. Mai 2013

Tasty!


A fairly ancient photo made 5 years ago.
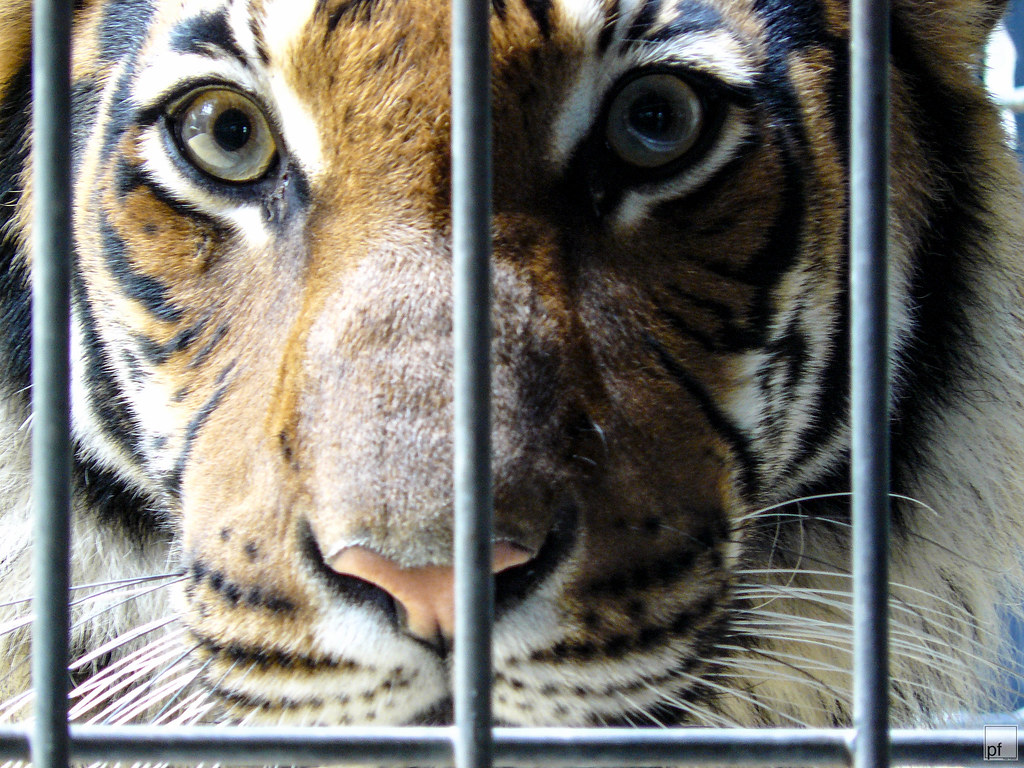
I love the impression, exactly like my cats watching a laser pointer. =)

Sonntag, 19. Mai 2013

Blocking board


It was my darlings birthday yesterday and being big into knitting she wanted a blocking board.

Its no shame not to know what that is:
When you knit something it tends to be quite crumpled and deformed when you're done, as all the little knots are slightly different. This effect is even more pronounced with delicate stuff like lace. What you need to do is wash the completed knitted piece and pin it into the form it should end up with until its dry.

She did this on our living room rug before which led to daylong tiptoeing around damp clothes and wet feet. No fun.

But this is a problem already solved. A blocking board is something you can pin into, that's water resistent and stable enough to lean against a wall so its out of the way. Having a checkered pattern helps the blockee (blockesse?) as she is pinning the piece against the board. Lastly it must be big enough to hold even elaborate projects and should fold for easy storage.

To the right you see all the materials used:
- 4x 60 by 60cm 'puzzle mats' made out of foam
- 2x 120 by 60cm strong plywood
- a big roll of cerecloth ('Wachstuch' in german)
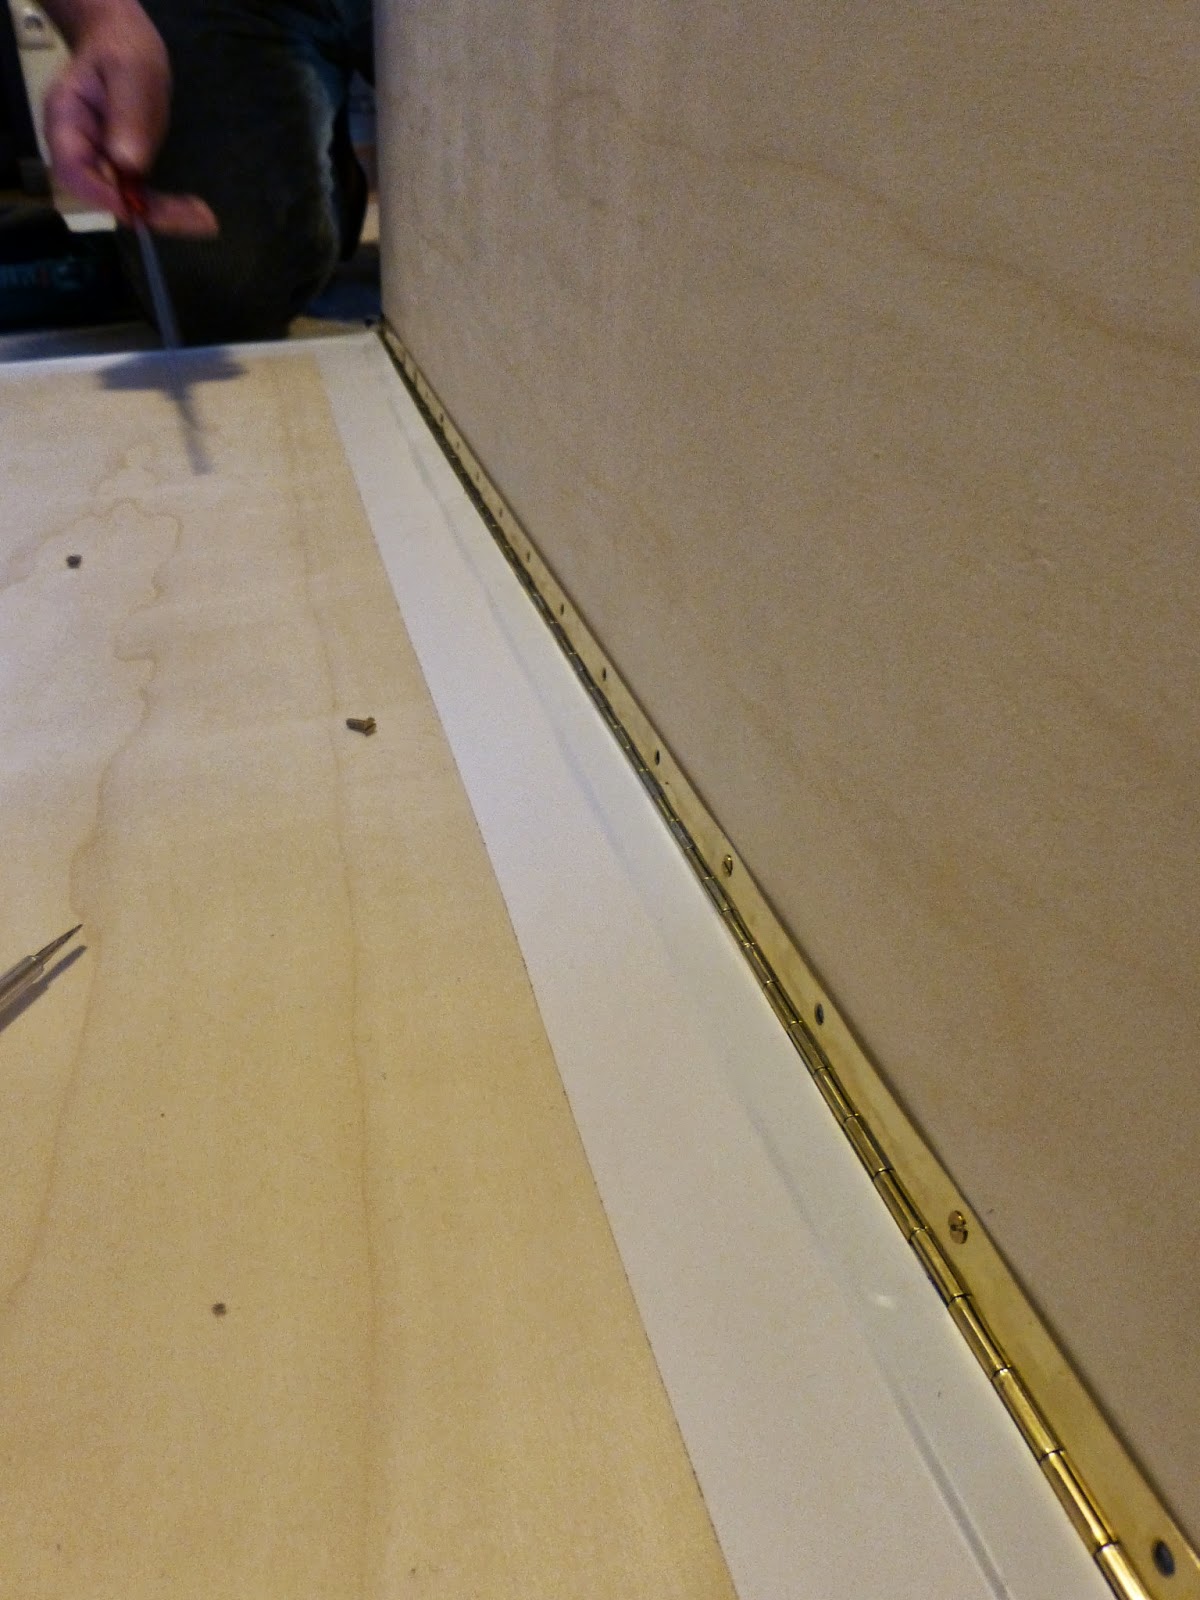
- 120cm of piano hinge
- screws
- staples and plastic tape

I build it in my parents flat to keep it secret (my dad was a great help, thanks again! =) )

The steps were as follows:

- cut the cloth in the correct shape
- drill holes into the boards and attach the hinge to test if everything fits
- Trim the foam a bit to match the boards
- remove hinge again
- attach the cloth at the side of the hinge by stapling it to the board
- screw the hinge on the board
- with foam on the board, starting with the opposite site, staple the cloth down completely
- try to keep the pattern aligned all times and watch out not to create folds
- cut the overhanging material and glue the masking tape over the staples
- Staple a new piece of cloth to the hinge-side of the second board, watch for alignment!
- attach the hinge to the second board (the boards are now connected)
- again, staple everything down and mask with tape
- you're done! =D


And: It works great! (You'll find her knit project here)


The alignment between the boards was difficult and its not quite perfect, but usable.
If you like, more pics.